Showing posts with label thyme. Show all posts

Sunday, November 9, 2014

Celeriac Gratin a Thanksgiving Recipe

One of the plants I grew this season for the first time was Celeriac or celery root.  It was easy to grow, you plant it and forget about it and harvest int he fall.

It was totally bug resistant, grew well and needed watering only occasionally.

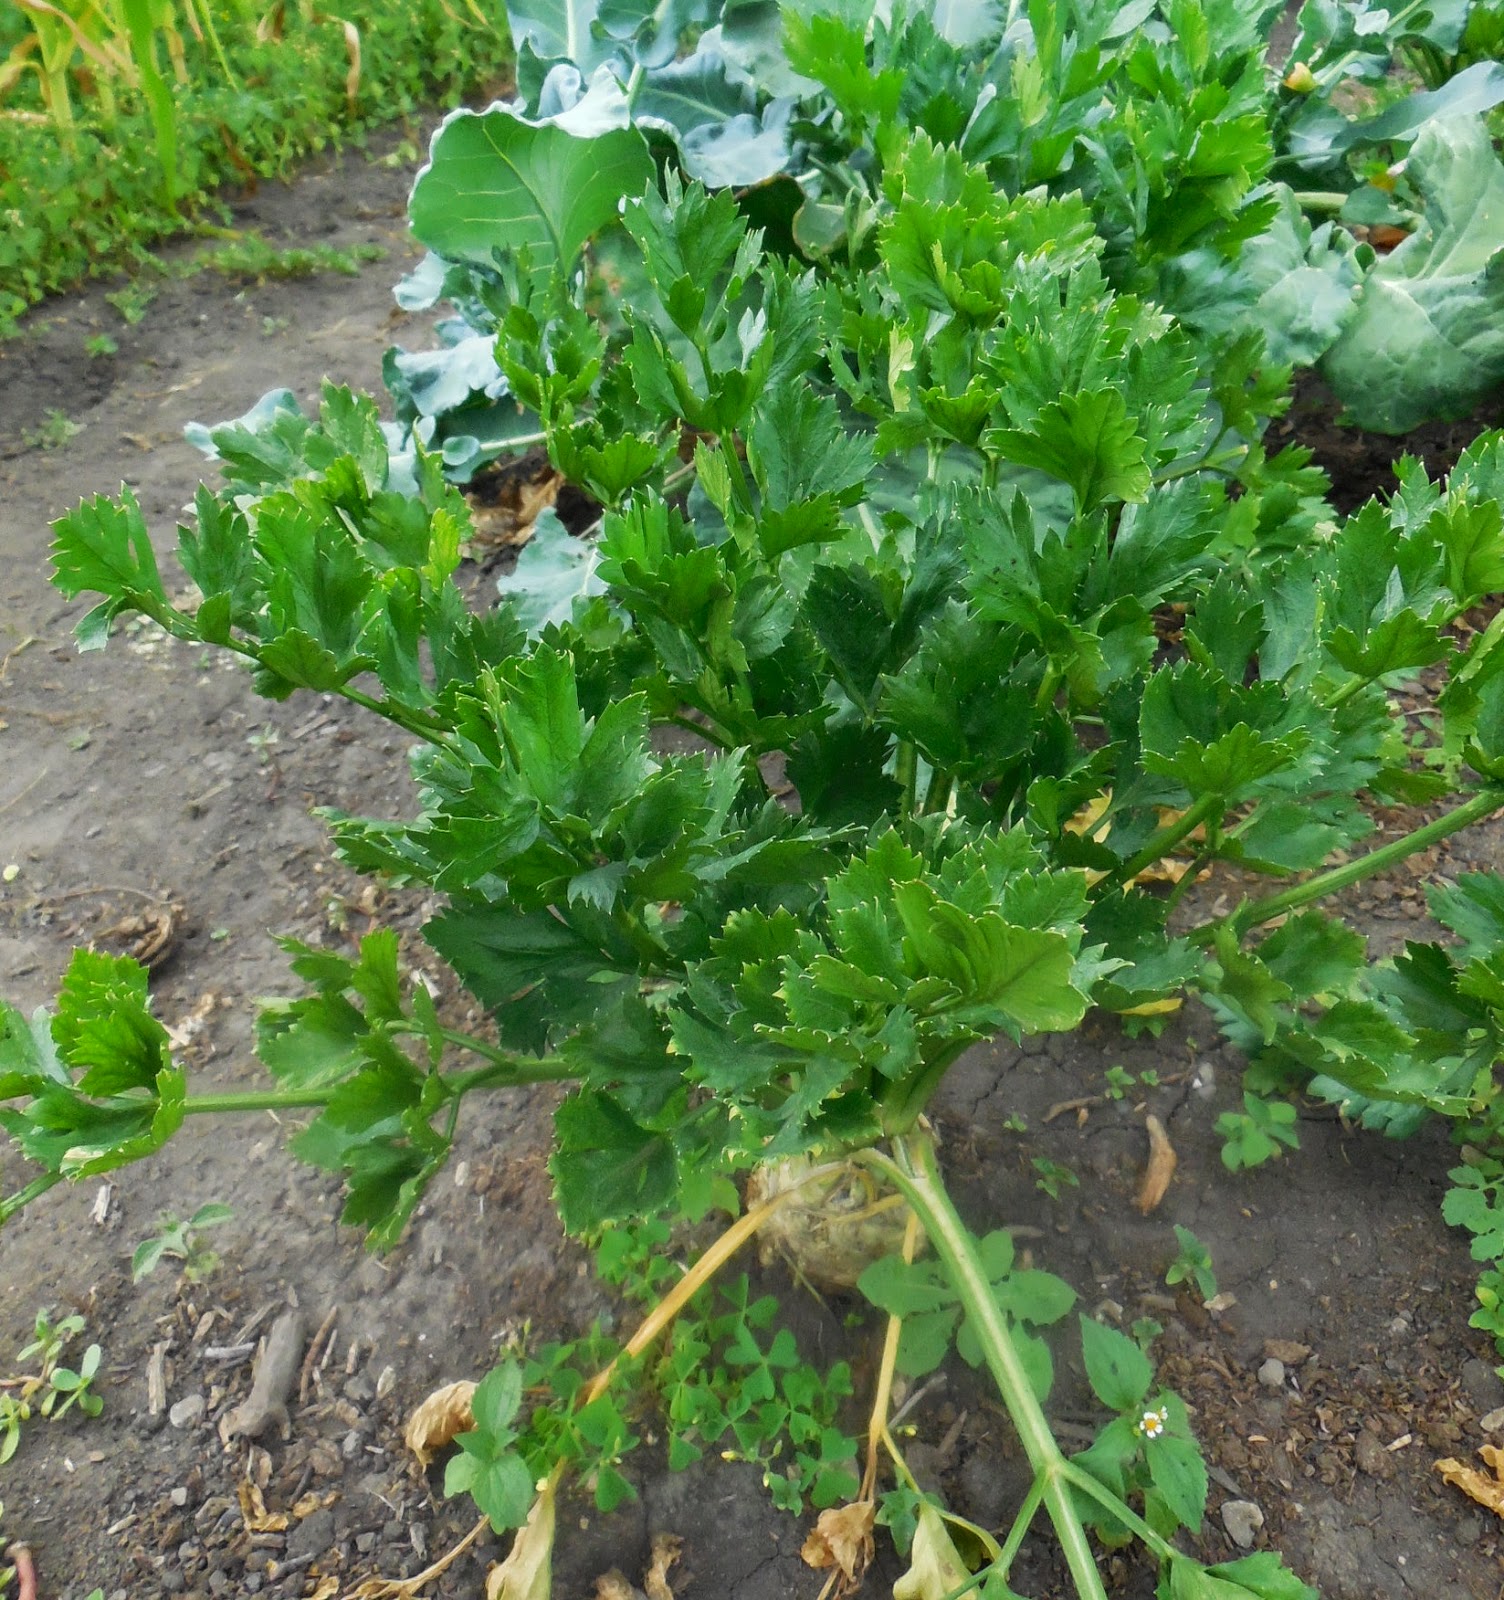
You can see the leaves and bulb in this early August 2014 photo
I would recommend it.  I even harvested the leaves from it to put in soups and stews and sauces and that was good too, even though the books said it might not be.

Leaves, photo taken in late July 2014
This is a recipe I found that we tried with the last two roots we harvested just before the first frost in late October 2014. (Full recipe at the bottom of the post!)

First step was to soften the peeled Celeriac which was done by simmering it in chicken broth and cream for about 30 minutes until the celeriac was tender.

After that the bulbs were cut into potato-like slices to go into the casserole dish.
 Now place the slices in the casserole with the thyme.
Bring the sauce to a boil and add the other ingredients to it.  Simmer for a bit then place it over the prepared celery root.  Do not worry if it looks like soup over the root it is supposed to.

Now grate the cheese.  We used a small food processor, but you can also do it by hand with a grater.


 Spread the Cheese over the prepared root in the casserole and bake for about 30 to 40 minutes, until the cheese has browned the the sauce is burbling.
 

What you get is a rich side dish, without the heavy starch flavor of potatoes.  It was perfect with the pork chops we had for dinner that night and with the nut crusted chicken breast we had the next night.  The cooking in the broth made the root soft and tasty and not tough.  This is a dish you could serve at Thanksgiving without any complaints!

Celeriac Gratin
  • 1 cup chicken broth
  • 2 cups heavy cream
  • 2 large celery roots (celeriac bulbs)
  • 2 tablespoons whole-grain Dijon mustard
  • 1 teaspoon sea salt
  • Freshly ground pepper, to taste
  • 1 teaspoon fresh thyme leaves
  • 1 cup finely grated Gruyere cheese

Directions:
In a large pot, bring vegetable broth and cream to a simmer. Trim the ends of your celeriac and use a sharp knife to peel the bulb. (Don't bother with a vegetable peeler, the tough skin needs something sharper.) When the bulbs are peeled, quarter each bulb, lengthwise. Add celeriac to the pot of simmering liquid. Cover and cook, turning occasionally, until the celeriac is tender (about 30 mins).

Heat oven to 350 degrees.  Remove pot from heat. Use a slotted spoon to transfer celeriac pieces to a large cutting board. When cool enough to handle, slice the celeriac into 1/4-inch-thick slices.

Layer the sliced celeriac in the bottom of an ungreased baking dish. Worry some over creating a pretty design, but not too much. Sprinkle with fresh thyme leaves. Bring the liquid remaining in the pot to a boil (watching carefully to make sure it doesn't boil over). As the liquid thickens, add mustard, salt, and pepper to taste. Pour the mixture over the layered celeriac, covering completely (if it looks soupy, all the better). Sprinkle the cheese evenly over the top, covering completely. Garnish with a sprig or two of thyme and bake for from 35 to 40 minutes, until the liquid is burbling and the cheese has turned richly golden-brown. Serve hot.


Notes: You can substitute a rich vegetable broth instead of chicken broth. Cooking the celeriac in the broth prior to baking gives it a rich flavor and ensures that the root vegetable won't be tough or stringy after baking.

Tuesday, July 29, 2014

weekly update - July 28

taken 7/26/14
The rain has stopped.  In fact this past week we had to stop by and water the garden several different days as it has not rained at all.  We also finally had several warm nights so that the Tomatoes which were on the vine staying green and orange finally turned that robust red you want them to be.  The zinnias are in bloom, the sunflowers are almost ready to bloom and the herbs are growing so quickly I could harvest them everyday.
Zinnias

Green peppers


This material coupled with zucchini, broccoli rabe, cucumbers, beans, peas and peppers and a wonderful selection of herbs all coming ripe made the garden a place of bounty this week.

Although we have harvested previously, this was the first time we filled that basket while at the garden. Here is a view in the basket.

I spread everything out on a table so you could see all that we retrieved on our water and harvest run on Saturday.


The purple basil to the left has been turned into herbal vinegar (check out this post if you want to make an herb flavored vinegar yourself.) The lemon balm (above photo, top left) was bundled and hung up to dry.  The genovese basil (front left) became a caprese sandwich with ham, mozzarella cheese, fresh tomatoes and a drizzle of olive oil on toasted bread.  It was marvelous!

There were enough beans to fill a pint basket (the square wood basket you see at the farmers market) which means we have at least a pound and can make a full recipe of a green bean dish.  Now to decide which one.  I will post the recipe once we decide what to make.

The broccoli rabe (just above the tomatoes in the above photo) is the sweetest broccoli I have ever tasted and as a result it rarely makes it to be cooked.  I eat it raw as a snack during the day.

orange thyme with needle-like leaves
The peppers have been coming in 1 or 2 a week for a month so each generally ends up in a salad, but this week I think we will make kabobs.  I have a great recipe for a Greek yogurt dip for kabobs that will be tasty!

I also cut orange thyme (far right by the peas.)  This is being left to dry in  a paper bag like the thyme I have harvested before (see July ___)   I generally cut only one thyme per day so I can remember which one I cut and keep them from getting mixed together in the harvesting basket.
Lemon balm before harvesting

Cucumbers - you have too look for the fruit, it is hidden under the large leaves.
You think you have none, then pull back and leaf and find more than one.
We grew a burpless cucumber which is very thin with few seeds.  We are going to turn this week's cucumber into a cucumber salsa and serve it over chicken and fish.

We harvested the bush beans today and have been debating harvesting the pole beans, but I know that both pole and bush beans will continue to produce until the vines die int he fall, so I think I will harvest the pole beans and save a later collection for drying to use in the winter.

From Bounty to Problems

Most of the issues this week are simple and not too upsetting or difficult to overcome.  The tomatoes still have the dark spot and the blossom end rot I have mentioned before.  This is due to the cooler wet weather.

You can see the black spot on this non-ripe tomato
And the peas have already started to dry so this will be the only harvest we get from them.  I will remove the plants and sow another row of peas for fall harvest.
peas turning brown 


Tuesday, July 22, 2014

Weekly update - July 20

Now you can really see a difference in the garden from last month to this month. The beans are growing up the trellis, the cucumbers have covered their  trellis and the herbs have doubled in size even with harvesting.  the nice neat patch of greens has turned into a tall unruly collection that shades the remaining lower growing greens protecting them from summer heat and giving me a longer harvest. And the tomato plants have filled in their cages and are starting to produce fruit.

JUNE

JULY

This week I focused on watering the garden as needed and weeding the herb garden.  Herbs compete well against weeds, so I tend to weed them last, plus I can enjoy the scents and fragrance while weeding so it is my favorite part of the task.  I always weed the rest of the garden first as a result.


I started with the raised bed of thyme.  Weeding thyme is a chose, as the thick mat of branches and leaves on the plants hid weeds well and reaching in to removed the plants at the base can be difficult.  As a result i weed the thyme bed every time I visit the garden.  It takes about 2 minutes to putt the dozen or so plants that stick up in and around the thyme, but it keeps them from taking root and becoming harder to pull later.


You can see how they plants are spreading into one another which is my favorite look.  You notice the variation in leaf shape along with flower and stem color more when they are closer together.

Progress

The zinnias are now blooming.  I took way to many pictures of this.


The lemon basil has started producing
seed heads which are hard to contain
on this smaller leaf basil plant.

You have to clip off the seed heads on
basil as soon as you see them.  Once
they put energy into seed production
the flavor and quality of the leaves
deteriorates.

As a result I now carry the scissors and
snip off the tops of all the basil plants during
each visit to the garden. It gives me a fist full
of leaves I can use in tonight's salad or main dish.


Overall we are in waiting mode.  The plants are just about ready to begin producing items we can harvest in larger abundance.  Just one more week and I will start getting more than one tomato at a time and a handful of beans.


Wednesday, June 4, 2014

Community Patch - Growing Thyme in a Raised Bed

I love lemon herbs.  I love all lemon herbs, but I love lemon thyme the most.  I also like common thyme and creeping thyme and well, just about any thyme you can imagine.  I grow 17 different (grew, this past winter whittled them down to 12) varieties of thyme.  About half the varieties have a lemon scent or flavor.  I could not resist the opportunity to create a special bed for the thyme plants as a way of demonstrating how to craft a raised bed.


This thyme bed is located on the far left side of my garden patch.  It receives full sun, all day!
Here is a diagram of the bed (I got this idea for describing my beds from Lemon Verbena Lady.  She used this method to explain her garden rearrangement this year.)

1           9            6

2          4           7

3          5            8

1 French Thyme
2 German Thyme
3 Silver Thyme
4 Golden lemon thyme
5 Doone Valley Lemon thyme
6 English Thyme
7 Lemon thyme
8 Golden Thyme
9 Orange Thyme


To create the raised bed, I did not clear out the existing soil, level the ground, build a frame and fill it which is the traditional method for making raised beds.  Instead I did the less-effort method.  With this method, you just scoop the soil into a low hill crafting edges or toughs around the planting area.  I even went so far as to plant the bed with thyme before I even constructed the raised bed.


To construct the raised bed I decided to use something easy to acquire and disposable.  I choose willow branches.  I collected them in the Spring, March I think.  When the snow had melted and the winter drop from the willow trees was littering the ground.  I collected a huge bundles of sticks trying for those that had varying thicknesses that were about 3 to 4 feet in length.


Using my hand trimmers I cut stakes from the larger branches.  Placing them along the edges of the bed about 4 to 5 inches apart.  I did not measure this.  I used the distance between my extended pinky and thumb if you were flashing a "Hang 10" symbol.  I wanted a spacing close enough to keep the sticks from flopping, but far enough so that I could actually weave the stems between the stakes without too much breakage.


To make the work easier, I laid several bundles of willow branches along each side so I could reach them as I went around the bed working the weave.

All you do is an alternate inside outside between the stakes.


I did opposite sides first.  I have found it is easier to work the side weave into existing ends rather than working the weave from a corner position.  With two ends (sides) completed, I have a stable place to work the side branches into at both ends which also allows me to use broken branches or those that are too short. 


Here you can see the completed weaving.  The sticks stick out the ends and will need to be trimmed as  with the upright stakes.  better to make the stakes to long and trim them off, that to have your branches pop over the top becasue the stake is too short.  I did not trim the stakes until I placed the extra soil and top dressing in the raised bed.  Then I trimmed the stkes becasue I was no longer pushing up agasint the weave.


Here is another angle on the completed weave.  Notice there are now extra stakes in each of the corners.  I placed one on the outside of each corner and on the inside.  This created a bit more stability in the corners and kept any stray branches from wanting to pop out of the weave.  If I have problems with the branches staying put (which i do not expect) I can  tie these double up stakes with wire or raffia.


Here is a slightly better view of the extra corner stakes.

notice the weeds among the thyme

Once the stakes were all in place I put top soil into the bed to bring the soil level even with the outline of the woven fence.  I then gave a top and side dressing of mushroom compost over the entire bed.  This filled the space the woven fence created making the bed uniform and attractive. Axtra compost in a raised bed is important as you are generally adding soil .  A nice cool compost like mushroom compsot is great for this.

Weeding Thyme is a pain in the butt.  Grass, small leafy plants and other things get between the branches and it is like pulling out one blade of grass at a time when you have to weed, so a top dressing of dark rich compost also cuts down on the weeds and allows the bed to hold more moisture.  Now I will not have to water this corner of the garden as often.  (Which is good because the hose does not reach that far!)

Here is the finished bed:

After I crafted the raised bed, added the compost and soil and watered the bed well, I then gave all the thyme plants a hair cut.  I harvested 1/2 of their height (I could have gone 3/4 but there would not have been much to photograph then......  They may look small now, but this trimming and the nourishing bed and they will become larger bushier plants in no time.

trimmed thyme