Showing posts with label Herbs. Show all posts

Thursday, May 18, 2017

Natural Bug Repellent


Working in the garden can be buggy business.  Using herbal essential oils suspended in water is a perfect way to chase the bugs away while gardening or other outdoor activities.


There are several essential oils (these are oils extracted through distillation from plant material - the concentrated natural essence that give plants their scent) that work well at chasing insects.

  • Lavender Essential Oil - an insect repellant that soothes, calms and heals the skin.  It can relieve the pain and redness of insect bites too.
  • Peppermint Essential Oil - repels insects and stimulates your senses and your circulation, while disinfecting your skin.  It can also relieve the itch of insect bites.
  • Lemongrass Essential Oil - uplifting and cleansing lemongrass is the best insect repellent oil.


Natural Bug Repellent Spray
Safe for the whole family, including children and pets, you can spray often, both yourself and the surrounding areas to keep bugs at bay.  It is both cooling and refreshing as well as effective on bugs.

4 ounces of distilled or spring water
10 drops lavender essential oil
10 drops lemongrass essential oil
10 drops peppermint essential oil

Mix ingredients together in a 4 ounce spray bottle. Shake well to mix.

TO USE: spray on skin and clothes, hair and hats.  Use often for maximum effectiveness, especially on a warm sunny day.

Alternatives- you can add this essential oil combination to sun screen or body oil to also use as a repellent.

NOTE-- use only 100% pure essential oil, not scented oil, potpourri oil or bath oil.  These are not the same.  NEVER place essential oil in direct contact with skin unless diluted in another medium. Contact toxicity is possible that way.

Monday, June 8, 2015

Weekly Update - June 8, 2015

The excessive rain has destroyed the plan.  We did not have the ability to craft the different raised beds we wanted.  We are just trying to get the plants into the ground so they do not get root bound and die on the porch.  When the rain let up for several days this week allowing the soil to dry enough to plan, so we got up early Sunday morning to go out to the Garden and plant the herbs.


We left the south side of the garden for herbs when planting last week. We checked the weather when we got up at 6 am and it said the rain was going in but not until 10 AM, so we loaded up the plants and went over getting to the garden around 6:45 AM.


We had to remove the weeds from the garden space as we did not weed this section previously.  We used the soil twister to pull out the larger weeds and loosen them so they could be easily raked out.  It was not that time consuming.


Since I want to be able to lift out some of herbs from the garden at the end of the season, I decided to bury plastic containers and place the plants inside.  They can grow in the container, yet still be removed at the end of the year, reducing the root shock which killed the herbs I removed from the garden last year.


I used plastic cat litter containers.  They are thin flexible plastic, easily cut with a box cutter.  We made them deep for all but the thyme plants which we cut the container slight more shallow for.  We cut holes in the bottom for drainage.


I then dug out the dirt in various holes slightly larger but not deeper than the containers.


Placing the container in the ground I packed dirt around it, then filled it part way and added the plants.  We added water before and after plating the plants.


The spaces we planted back in May had a fair amount of weeds, that were in some cases taller than the plants.  It had been two weeks since we had been there, so this was to be expected.


The excessive rain was not loved by all the plants and resulted in one plant death. These are the cucumber plants.  I have yet to plant any bean seeds, but I will take care of that this week.


 The peppers are doing okay, but the hot peppers that had a few peppers forming have lost those peppers, probably again a product of the extra rain.


Hot pepper with damaged fruit

Monday, August 18, 2014

Weekly update - August 17

This week we continued to weed and harvest and water a bit, but there has been plenty of rain here recently, almost too much.  Everything is still looking very green and the tomatoes are ripening as we have had some warmer nights.
Looking to the east
Things are still very contained, even the herbs are staying somewhat separated from each other.

Looking to the west

The Kohlrabi I used to replace the lettuce is growing well.  If the small bugs that are eating the leaves on everything don't get tot them they should do rather well and give me a late September root crop.  Since we never planted carrots because we ran out of room this will be a nice item to go with the Celery root (Celeriac) that will mature around the same time.


The Zinnias were the happiest of plants int he garden this week.  As you can see they are covered with blooms.

The Calendula that I planted from seed along the front edge of the garden late in the season has come up well and is going into continuous bloom mode.  As soon as I clip off a flower others come to take there place.  This mix has two shades of lowers An orange that is like a pumpkin color and a red and yellow that looks almost like a straw flower.  So far not a single yellow bloom in the bunch.


I have so many calendula about to pop that I think I will need to plan to use them this fall in something special at the Backyard Patch.

The dwarf sunflowers are flowering and the heads are getting heavy and turning toward the ground.

My sunflowers are only about 2 feet tall.  But a few of the other gardeners in the community patch has full-sized sunflowers like these beauties.


There are signs of trouble in the garden however. Here is the climbing burpless cucumber vine and you can see the bug holes in the leaves and the dried and discolored leaves on the plant.  I am not sure if it is vertasiliam wilt, which I know is in the soil or the fungus from the potato bugs that I know have been plaguing these plants since they got about 2 inches tall.  Either way the bugs and diseases are winning.

Musk Melon


A mold called powdery mildew, has also formed on all the squash plants including the acorn squash and the zucchini.

After the great harvest we had previously the plant now struggles to produce one zucchini at a time.

My melon which was slow to germinate and slow to prosper is covered with this same powdery mildew.

Acorn Squash also has yellowing and drying leaves


Zucchini
 The herbs, however, are doing very well.  The thyme is in need of harvesting, but I forgot the paper bags, so I will do it next time I visit. The Dill and fennel have already started to produce seed.  I have decided to let them go to seed as I have other plants so I can save the seed for next year as I will lose all these plants at the end of the season when the community garden shuts down. Even after harvesting them last week they have grown and filled back in like they were hardly cut.

Silver thyme

Looking to the east (rather bright because of sun angle at 8 PM)

Looking to the west Mint int he foreground trimmed back so you can see the tri color sage.
In the next few weeks I will harvest these again, allowing some of the calendula as well as the bronze fennel go to seed and perhaps the oregano and savory as well so I can save the seed from those plants which did very well this season.

Tuesday, July 22, 2014

Weekly update - July 20

Now you can really see a difference in the garden from last month to this month. The beans are growing up the trellis, the cucumbers have covered their  trellis and the herbs have doubled in size even with harvesting.  the nice neat patch of greens has turned into a tall unruly collection that shades the remaining lower growing greens protecting them from summer heat and giving me a longer harvest. And the tomato plants have filled in their cages and are starting to produce fruit.

JUNE

JULY

This week I focused on watering the garden as needed and weeding the herb garden.  Herbs compete well against weeds, so I tend to weed them last, plus I can enjoy the scents and fragrance while weeding so it is my favorite part of the task.  I always weed the rest of the garden first as a result.


I started with the raised bed of thyme.  Weeding thyme is a chose, as the thick mat of branches and leaves on the plants hid weeds well and reaching in to removed the plants at the base can be difficult.  As a result i weed the thyme bed every time I visit the garden.  It takes about 2 minutes to putt the dozen or so plants that stick up in and around the thyme, but it keeps them from taking root and becoming harder to pull later.


You can see how they plants are spreading into one another which is my favorite look.  You notice the variation in leaf shape along with flower and stem color more when they are closer together.

Progress

The zinnias are now blooming.  I took way to many pictures of this.


The lemon basil has started producing
seed heads which are hard to contain
on this smaller leaf basil plant.

You have to clip off the seed heads on
basil as soon as you see them.  Once
they put energy into seed production
the flavor and quality of the leaves
deteriorates.

As a result I now carry the scissors and
snip off the tops of all the basil plants during
each visit to the garden. It gives me a fist full
of leaves I can use in tonight's salad or main dish.


Overall we are in waiting mode.  The plants are just about ready to begin producing items we can harvest in larger abundance.  Just one more week and I will start getting more than one tomato at a time and a handful of beans.


Tuesday, May 27, 2014

Volunteers in the Community Patch - Transplanting

I was exploring the edges of my 20 x 20 garden the last time I visited and noticed several plants had taken root that I did not put here.  When I raked the soil to prepare to plant I noticed there were many tomato seedlings.  I was expecting this.


Any tomato that falls from the vine at the end of the season can leave seeds that will germinate into plants the nest year.  I did not want to risk that these were viable plants that could produce fruit (most don't) so I did not save any of those tomato volunteers when I found them.

However, the onions  (leeks) and Spearmint that I found I decided to nurture.

These I left at the corner of the garden, since relocating onions is usually disastrous, I did not want to risk that with these.
The spearmint was was on the edge of the path in the middle of the garden, so I thought it might get trampled and needed to be relocated.  I dug out out with the shovel.


Then I dug a hole where I wanted it (in the herb bed) the slightly bigger than the shovel.  I placed water and compost in the hole.

Then placed the plant in the hole, loosening the dirt around the roots just a bit.  Then a give it a good watering after firming the soil around the plant.  The key with transplanting is to take enough of the soil from the original location so that you are not tearing or damaging the roots of the plant.  They will be less shocked by the move if they travel with roots and original soil intact.

Spearmint in its new home next to the tarragon.  I guess I am assuming the tarragon will not grow much this season.

Friday, May 23, 2014

How to plant nursery plants

Most of the plants I placed in the garden came from a nursery.  I also have some winter sown seedlings that I will plant next week so i will talk about those then.  I also am going to grow some plants from seed.  That discussion will be in a day or so.

For today we are going to talk about how to give a nursery plant a good home so it will thrive in your garden.


These are the plants.  I obtained them from four places.  A couple I acquired at the Home Depot.  These are in peat pots from Bonny Plants.  I got basil and lemon balm on a whim when i was searching for a new patio pot.  Most came from the Herb and scented plant sale at the Oak Park Conservatory.  The Herb sale is their big fund raiser, although they do not have many herbs anymore I still support the sale and there are a few items you can only get there which I return each year for.  Several of my tomato plants, a few herbs and the cucumbers all came from the Conservatory.  I stopped at the Good Earth Nursery on my way home from the herb sale and got a few heirloom tomatoes, root celery, and a couple more herbs plants.  Luurs Garden Shoppe, which is my local nursery, less than two miles from the apartment is where I always get my potting soil, compost and other supplies like that, I picked up several thyme plants from them.  They stock an amazing selection of perennials and I cannot wait to shop there when I finally move out of the apartment!  I also won 4 broccoli plants at the garden club meeting in April.

So first things first.  The soil must be ready to be worked.

I laid out the garden with the plants still in their pots to make sure there was space.  I referred to notes, plant stakes and my own research to determine plant spacing.  Once I knew where I was placing the plants then I could dig holes.  Never take the plants out of the pots and leave them laying on the ground with bare roots.  They will dry out so quickly in the sun and the stress to the plant can be catastrophic.  All plants suffer from transplant shock adding dry roots to that and you can kill some less hardy plants.


Using a trowel or shovel, I like a hand shovel, dig a hole that is twice the size of the root ball of the plant you are planting..  This is my ergonomic shovel and I can dig with this all day without straining my wrist.  I admit this is an older tool, I have had it for years using it in my herb garden.   Use a ruler to measure over from the center of the hole to make the next hole when planting multiple plants. 


Toss a handful of compost into the bottom of the hole and water the hole liberally. This is a pepper plant so I just added some mushroom compost.  Organic materials like peat moss, composted grass clippings or plant material would also be perfect.  You just want to give them a bit of a food boost.


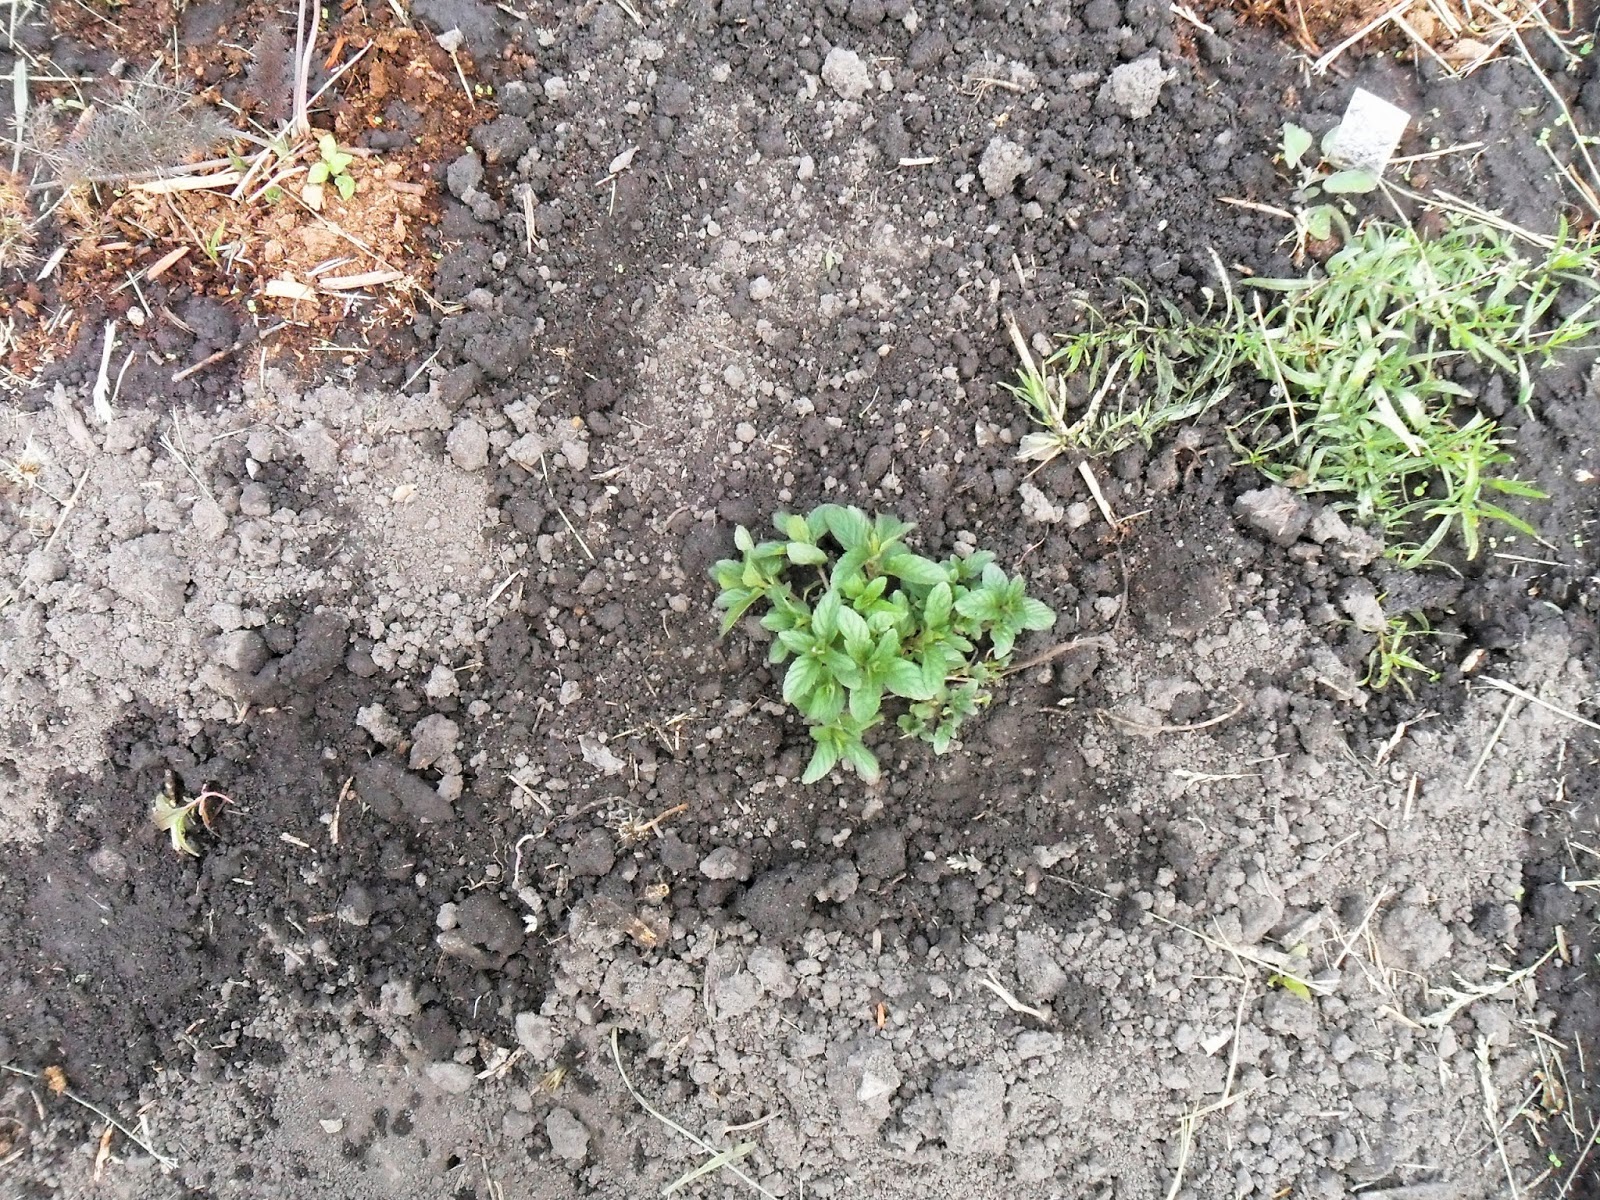
Then plant the plant, firming the soil around the plant with your hands enough to keep the plant upright and  the soil from washing away from the plant when it rains or the plant is watered, but not so firm that you press out all the air pockets around the plant.  Remember plants breathe from the roots so spaces in the soil for air are needed. Water the plant well after planting, then move to the next plant.  This is a bush cucumber.  

I place the plant tags that came with the plants in the soil near them.  I will eventually replace these with a larger, easier-to-read tag, but for now, it will keep them identified and allow me to remember what is what.  If it did not have a nursery tag, I wrote the name of the plant on a Popsicle stick and put that in the ground instead.

I put a top dressing of peat moss around the plants as a first layer of mulch to help the soil hold moisture.  I may add more mulch later.  I am waiting to see how the soil sheds water and if I need mulch for weed control. There is a lot of "unknown" in a Community Garden the first year.  In your own yard you will have a better grasp of the soil needs and quirks.

That is it, there is no other technique needed to plant these vegetables and herbs.  Just keep in mind that certain plants, like squash, are grown in a hill rather than on flat ground.  You mound up the dirt and place the plant in the center of the hill or if growing from seed you place three seeds in a hill and thin to one plant once they germinate and grow.

Here are  three planted hills of Zucchini.  I am growing that from seed.

Next time I will demonstrate layering.
.