Showing posts with label garden planning. Show all posts

Wednesday, May 20, 2015

Garden Help Links

So where do you go for help when the garden is not so perfect?

The first place I always go when there is a problem with the garden is the Master Gardener program.  Almost every state has a program of some sort.  Here in Illinois it is run through the Cooperative Extension agency of the University of Illinois.  No matter what state you are in they are a great resource for home growers, since they are run through a local university they will have nailed down growing issues for your area and 
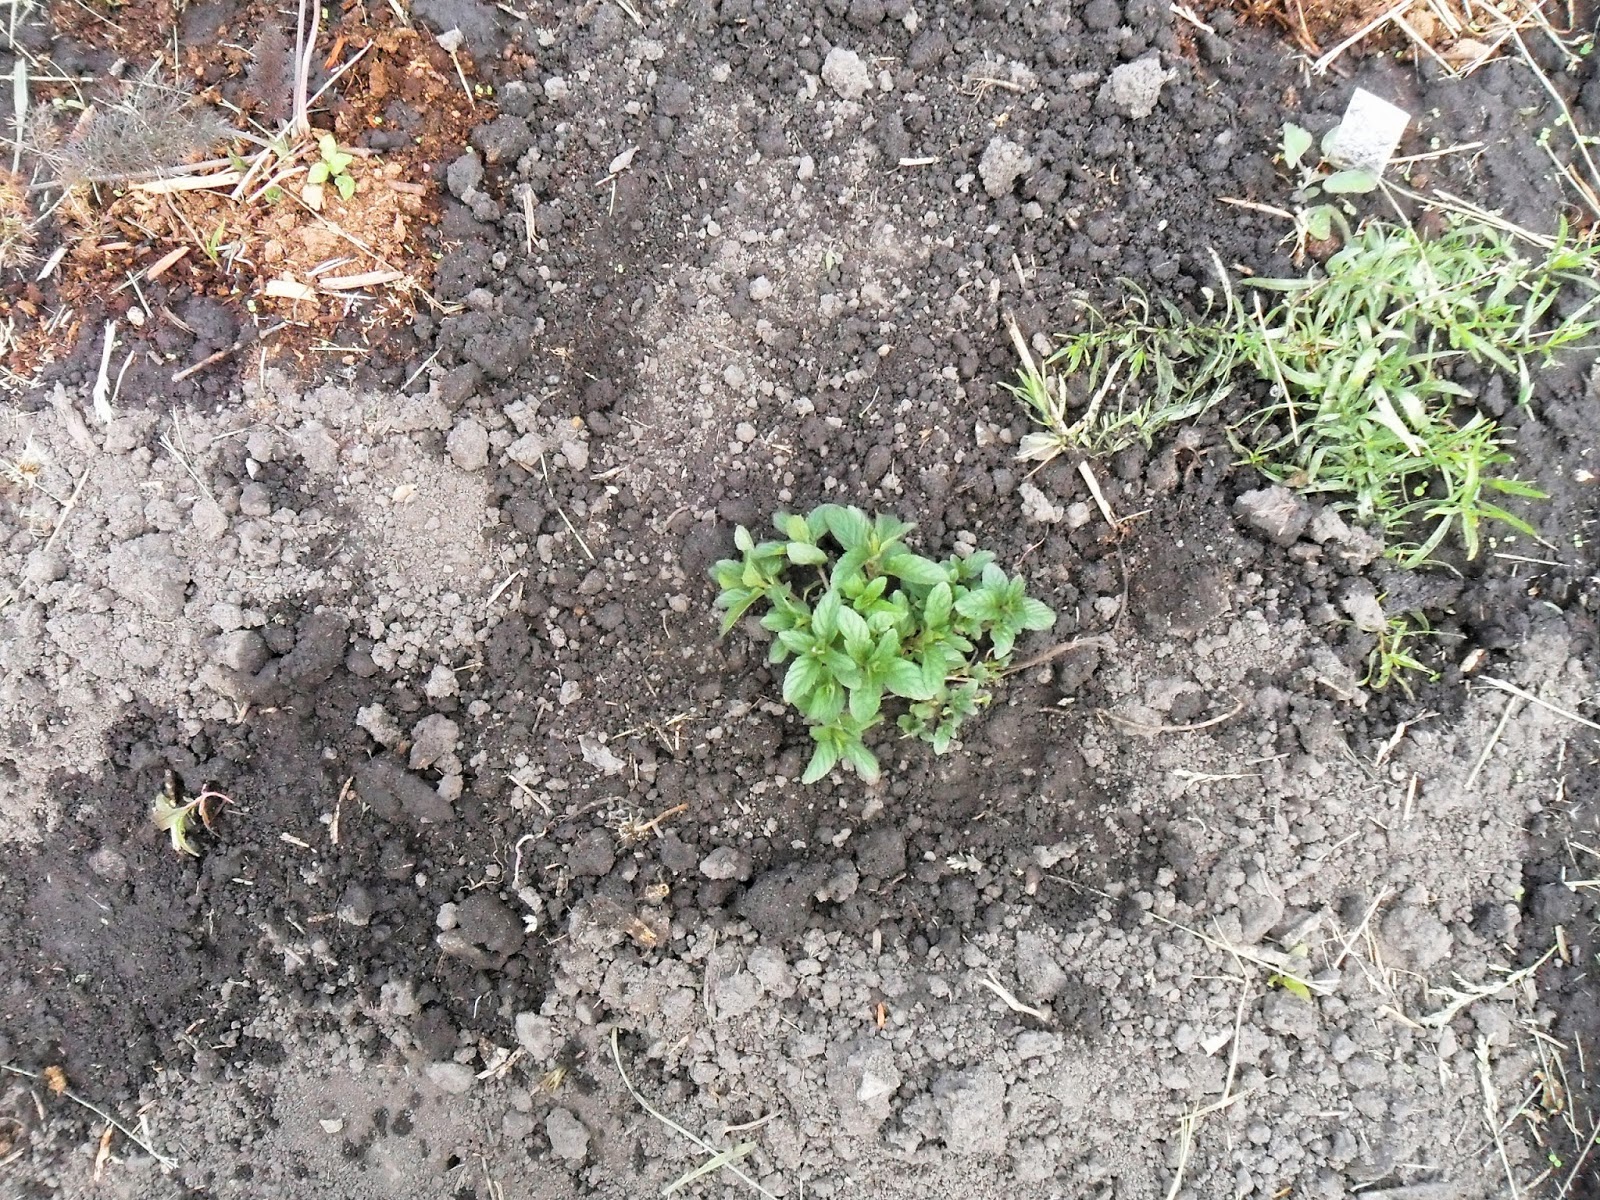
some solutions to many garden problems.  They are also great for plant identification, when you do not know if something is a weed or plant to keep.

The Uof I master gardeners has a website that I recommend as a resource.  They had tons of articles on all sorts of topics under Hort links on the webpage. They also produce a digital newsletter for Master Gardeners that you do not have to be a Master Gardener to read.  It has book reviews, articles about various Master Gardener program events and other useful information.  The events link has programs that can be used for Master Gardner Continuing Education, but if you are not a beginning gardener, I suggest checking out a few of these, they have wonderful details.  But if you are new to gardening, you may find them over your head, so start with the Hort Links first.
 
courtesy of mikenowak.net
Also in Chicagoland we have Mike Nowak, a radio personality who is a go-to source for gardening info.  His website also has great information and links to even more!  He is doing his show as a podcast presently and the website has links to listen to a wide assortment of recent shows.  You can also catch him regularly and repeated on the GDGD Radio Network available in an app for your phone.  You can find the link to download the App on his website as well.

Then you can try a local botanical garden or arboretum.  They are always thrilled to help those curious about growing things.  Where I live we have the Chicago Botanic Garden in Glencoe and the Morton Arboretum in Lisle.  

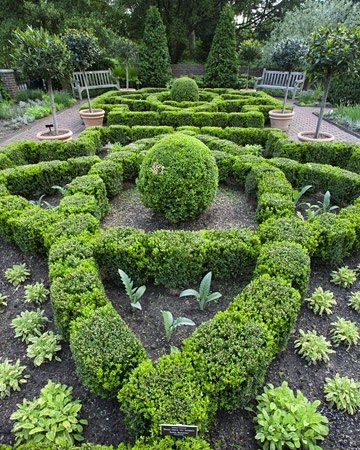
Sensory Garden at the Chicago Botanic Garden

Master gardeners and plant horticulturalists work at the Botanic Garden in the Plant Information Center to help ID plants and insects as well as plant diseases.  You can access them online as well as in person from 10 a.m. – 4 p.m. Monday – Friday; Noon – 4 p.m. Saturday & Sunday, but they are closed on holidays. 

Children's Garden At Morton Arboretum
At Morton Arboretum they have a Plant Clinic They accept walk-in questions April through October, from 10 a.m. to 4 p.m. Monday through Saturday and November through March, it is open from 11 a.m. to 3 p.m. Monday through Friday. You can also contact them via email through their website. In addition to identification, the plant clinic staff can help visitors choose landscape plants by directing them to specimens in the Arboretum so they can answer the age old question - how big will this get?

Also if you want to share and learn and search using your phone in a social media setting, I have a wonderful somewhat new app you can download called GrowIt!  You can get this for your android or iPhone.  And it is all about local growing connections.  You can connect with gardeners near you.  What are they growing?  Will it grow at your home? It eliminates that wonderful plant you saw on Pinterest that only grows in a subtropical climate because you know the information you are getting and sharing is local to your area or zone.  

As their website says: "Don’t know what flowers to plant in that container on your patio? GrowIt!™ is here to help you out. Find out what people are planting in your area. GrowIt!™ lets you Garden Socially. Whether you want to show off your plants, or find something that will work in your garden; GrowIt!™ has something for every type of gardener."

This app is new and growing and changing and updating and everytime I use it I like it even more.  So if you are on the app say hello to Backyard Patch Herbs and you will be chatting with me!  This is a great way to share all those great garden photos you take with your phone with people who also love garden plants!

Saturday, February 14, 2015

Saved Seed

One good thing to come from last year's garden was the bean harvest was not large enough to eat, but the seed harvest from those same beans was good enough to replenish next year's garden.

This is the tray full of seeds and pods that I shelled this week.


I grew a couple of heirloom beans: Christmas Beans and Tiger Stripe Beans.  they are quite lovely to look at.  I am told they make great soup, but that I am hoping will be part of my experiment for this year.


We are getting a new plot, but we are going to try for one that was unused last year so the ground was fallow and the diseases may be less prevalent.  We will have to go through the lottery for this but it will be worth it to move from the patch with too much disease.

The gardens will not be moved this year, probably because the Park District did not vote yet on giving the land to the City of Elmhurst, but I have not followed the papers much this winter and the Website for the Park District is not the easiest to navigate.

In addition to the heirloom beans, I saved herticote vert (thin green bean) seeds as well as sweet pea seeds.  I got the original sweet peas from Seed Savers so I know that I can save the seed and use it this year it was not a hybrid.

I was unable to save melon seed because the plant never gave a viable fruit, but I do have some seed left from last year and I may try to use that and see what happens.  Much seed is only good for a year after harvest and I have to check to see if Melon falls into the category.

It was easy to shell dried beans.  The seed coat split open easily allowing access to the seed.  The hardest to harvest were the green beans as the coat shrank as it dried gripping the seed tightly.  I had to smash the coat between my fingers to extract the seed.

Since all of these beans were harvested in September they were quite dry and most had opened before I even began shelling.

For now I have placed them in seed envelopes I made myself.  I got the seed packet template from a vendor on Etsy.  I just print them in various sizes, cut and glue them.  Then I label and stuff them with seeds.  I use the smallest ones for herb seeds mostly.  The package size is about 1 1/2 inches square and I place them inside greeting cards.


The packet has room on the back for growing info, like sunny and seed depth for growing, etc.  For these I transferred the information from my garden journal from last year.  Now I remember why I kept that journal with all the info about the plan and the planting!  Over the winter months I created my own colorful garden journal filled with pictures from my gardens and you can get a digital copy on Etsy.

Saturday, June 7, 2014

Final Garden Layout - Community Patch

Well I had a design plan.  Something I worked on for several weeks before going out into the garden.  I have to admit, I knew that this plan would change at planting time -- I was right.  I started planting hearty plants on May 18.  Added more seed and a few other plants on May 26 and finished with Zinnia seed, Dalias and herb seedlings and basil plants on May 31.  The I added lavender and more basil on June 3.  At which point there is not much space left to plant.  However, the patch next to mine (71) is empty and neglected, so if I do find more plants I want to grow, I may start planting them over there!

Plan on a clip board for reference on planting days

Here is the original hand written plan:


Here is the final version of that plan:

I have officially run out of room (I think) so there is little I can add to the plan now.  The first compromise was I bought more tomato plants than the original plan called for.  As a result this took the space for musk melon and zucchini, so I had to move them.  However I decided not to give the tomatoes a full 3 feet of space, going instead with the recommendations of the square foot gardening book and giving them a bit less space and caging them right away.  I will keep them trimmed and hopefully not regret this decision.

I added more paths to the garden than the original plan called for as well.  I realized how unrealistic I was being about walking in the soil as I began to plant things into the space.  I still may regret not adding one more path through the middle of the vegetable patch, as I am already having access issues.

There is much to tell about each of these plants, so I will focus on each one separately in other posts and then link them back to this one as they are written so you can just bookmark this post if you want to know the details of the plants.

Here is a breakdown by bed of the plants (the bolded letters are those used on the garden plan):

Thyme Bed
French Thyme
German Thyme
Silver Thyme
Golden Lemon Thyme
Common Thyme
Doone Valley Thyme
Lemon Thyme

Herb Bed
Kentucky Colonel Mint
Tri Color Sage
Common Sage
Dill
Hyssop
Parsley
Cilantro
Summer Savory
Greek Oregano
Fennel
Bronze Fennel
Sunset Hyssop
Tarragon
Spearmint
Calendula

Tomato Bed
Early Girl
Better Boy
Roma Tomato
Mortgage Lifter
Cherokee Purple
Pineapple Tomato
Sweet 100 Cherry
Grape Tomatoes
Sweet Basil

Salad Bed
Red and green early greens
Micro Greens (from seed)
Red Rib Sorrel
Collard Greens (from seed)
Red Giant Mustard
Arugula
Butter Crunch lettuce
Tiburan Poblano Peppers
Jalapeno Peppers
Root Celery
Broccoli
Yellow Spanish Onions (I think they all died)
Zinnia (Flower from seed)
Lemon Basil

Vegetable Bed
Burp-less Cucumbers (climbing)
Bush Salad Cucumbers
Sunflower Teddy Bear (Seed)
Better Belle Peppers
Black Beauty Zucchini (seed)
Hale's Best Jumbo Muskmelon (seed)
Dwarf Gray Sugar Peas (seed)
French Filet Bush Beans
Tigers Eye pole Beans
Christmas Lima Beans (Climber)
Dalhias (3 plants as an experiment)
Acorn Squash

Tuesday, May 27, 2014

Volunteers in the Community Patch - Transplanting

I was exploring the edges of my 20 x 20 garden the last time I visited and noticed several plants had taken root that I did not put here.  When I raked the soil to prepare to plant I noticed there were many tomato seedlings.  I was expecting this.


Any tomato that falls from the vine at the end of the season can leave seeds that will germinate into plants the nest year.  I did not want to risk that these were viable plants that could produce fruit (most don't) so I did not save any of those tomato volunteers when I found them.

However, the onions  (leeks) and Spearmint that I found I decided to nurture.

These I left at the corner of the garden, since relocating onions is usually disastrous, I did not want to risk that with these.
The spearmint was was on the edge of the path in the middle of the garden, so I thought it might get trampled and needed to be relocated.  I dug out out with the shovel.


Then I dug a hole where I wanted it (in the herb bed) the slightly bigger than the shovel.  I placed water and compost in the hole.

Then placed the plant in the hole, loosening the dirt around the roots just a bit.  Then a give it a good watering after firming the soil around the plant.  The key with transplanting is to take enough of the soil from the original location so that you are not tearing or damaging the roots of the plant.  They will be less shocked by the move if they travel with roots and original soil intact.

Spearmint in its new home next to the tarragon.  I guess I am assuming the tarragon will not grow much this season.

Thursday, May 22, 2014

Garden Planted!

I had a plan to plant on May 9.  Instead we had downpours that resulted in soil too wet to plant in.  Then I had to wait a week due to a turn in the weather.  I was finally able to plant on Sunday, May 18.  It was in the 80s that day, but had been cold and snowing just two days previous.  It was still a risk to put plants in the ground with our changeable weather, but I went ahead and planted plants and seeds in an all day marathon.

Time wise (so you can compare)  I was able to get the plants and seeds in the garden in about 3.5 hours.  I started around 10 am and worked until about 1:30 with a break for lunch around noon.  That included planting and watering.  I spent another hour on that day placing some peat moss around some of the plants and rewatering so that would not blow away.

I had to rake out the weeds that were sprouting int he space, but did not need to till the soil,m as the park district did that.

Here are some images of the work:


Plot #72 with a few planting areas marked with flour.
The final garden plan (as designed)  This is subject to change during planting, but I had a rough idea of what I wanted to do using this plan I created in advance.
Tools: shovel and rake; watering cans; hand tools including trowels, hand rake, and ruler; plant markers, clip board with plan; brown paper bag with seed packets; cooler with water and snacks.
The plants mixed in two flats and an extra two cardboard boxes
The first thing I did was mark the handle of my rake with markings ever two inches for 1 foot, then 6 and 12 inch increments after that.  Now I just lay it down on the ground and  can easily space plants.

You can see how close the RR tracks are!  This is before work began, nothing raked or placed.

After raking a good portion of the plot (20 feet by 20 feet) I then placed out the plants based on the plan to see if everything would fit as desired.
We have way more tomato plants that originally planned, so that changed the diagram.  We also put in a few more paths that I planned too to make it easier to get in and take photos for future blogs.

That portion int he middle which is not raked is for seeds I did not intend to plant on that day, so I chose not to rake it until I was finished planting the other areas.

Here is a sneak peak of the completed planting, I will provide details of the how we got to this point in another post.


Wednesday, May 7, 2014

Choosing What to Plant in your Garden Patch

This is harder than you might think to decide what to plant. In my previous post I listed a number of plants that I bought, but I admit that I am using years of experience about how many and what types for my garden.  Even though I have never done this type of garden, I have gardened before now.

If you are starting small, you have to limit yourself to a handful of plants. If you are growing vegetables start with what you like to eat and what you can't find fresh locally. Corn takes a lot of space and remains in the garden a long time before it's ready to be eaten. If you have corn farms nearby, you might want to use your small garden for vegetables that give a longer harvest, like tomatoes, lettuce and beans. My husbands said - NO corn in the garden for just this reason.  He said , if you want corn go to the farmer's market, they always have it and it is good.
Flower gardens can be even harder. Start with what colors you like. Rather than basing your dream on a photograph from a magazine, take a look at what your neighbors are growing successfully. They may even be able to give you a division or two.  The Men's Garden Club of Villa Park is having their plant sale May 9 & 10 and many of the plants available have come from local gardens so not only can you find out how they did, but you know they grow here!
Probably should not start with this!
Take a walk around a couple of garden centers and read the plant labels. Then play with combining the plants that strike your eye until you find a combination of 3-5 plants that pleases you. Make sure all the plants have the same growing requirements (Sun, water, pH...) and that none of them are going to require more care than you can give them.
Keep the variety of plants limited. It makes a better composition to have more plants of less varieties than to have one of this and one of that.
Let the planting begin

Sometimes you have to plant when you have the time, even if that's high noon on a Saturday. But the ideal time to plant is on a still, overcast day. The point is, stress your new plants as little as possible. Here are a few easy steps to follow:


·                        Water the plants in their pots the day before you intend to plant.
·                        Don't remove all the plants from their pots and leave them sitting in the sun for the roots to dry out.
·                        If the roots are densely packed or growing in a circle, tease them apart so they will stretch out and grow into the surrounding soil.
roots
·                        Bury the plant to the depth it was in the pot. Too deep and the stem will rot. Too high and the roots will dry out.
·                        Don't press down hard on the plants as you cover them. Watering will settle them into the ground.
·                        Water your newly planted garden as soon as it is planted and make sure it gets at least one inch of water per week. You may have to water more often in hot dry summers. Let your plants tell you how much water they need. Some wilting in noonday sun is normal. Wilting in the evening is stress.

·         
      Mulching
      You hear a lot about mulching, but it really does make a major difference in a garden. Mulch conserves water, blocks weeds and cools the soil. Organic mulches like shredded or chipped bark, compost mulch from old leaves and grass, or event straw, will also improve the soil quality.

      Plastic mulches are nice in a vegetable garden to heat the soil around warm season crops like tomatoes, peppers, melons and squash.  Whatever mulch you choose, apply it soon after planting, before new weeds sprout. Apply a 2-4 inch thick layer of mulch, avoiding direct contact with the plant stems. Piling mulch around the stem can lead to rotting and can provide cover for munching mice and voles.

·         
K
      Keeping a Record
      Keep a record of what you have planted or better yet, keep the labels that came with your plants. This will help answer any questions about what the plant may need if it starts looking poorly and will remind you next year of what you liked and what didn't work. It also helps to take pictures and label them. You'll remember color combinations and favorite plants.

·        You can start a garden journal (check out one of my early posts for two types which will work great.) With a garden journal you can record how plants perform, when flowers are in bloom, how large a harvest was and all kinds of information that will help you make a better garden next year.


Hopefully when you were selecting plants you did some background checking and didn't select too many prima donnas. All plants are going to require some maintenance. The idea that perennial plants require less maintenance than annuals is wrong.  Choose a few good gardening books and read up on the plants you choose, so you have less surprises.

It may happen that one of your choices isn't happy and dies.  That is a fact of gardening life and not a sign you cannot do this.  Move on and replace it with something else.  I love to grow thyme.  Thyme dies.  Plants you have had flourishing for multiple years, just die. Each year I choose a new variety of thyme to grow, just in case one of my long-term residents, takes a bad turn.  This year, I will be trying several new plants!!

Water Needs
At the very least your plants will require an inch of water a week.  If it rains regularly, good for you and your garden!  If not, don't let your plants get drought stressed.  Once a plant is stressed it will never recover fully in this growing season.

My first challenge of the Community plot was an email informing me that the water is not turned on at the garden and that they will be repairing leaks and that the water may not be fully functional for some time.  I think this means I will need to bring filled watering cans when I plant later this week.I shudder to think about filled watering cans in my car!!
Enjoy the Garden
You've heard the saying "Stop and smell the roses"? Gardeners can be the worst at taking that advice. We're so busy with our heads down at soil level, pinching, pruning and pulling every weed, that we often don't appreciate what we've created until someone else tells us.
Step back and enjoy what you've accomplished.
Come back Friday and Saturday for the details of my garden planting for this year!


Monday, March 31, 2014

Planning the Community Patch - Plans and Journals

Excited as I am to get working in a garden, it is too cold and the soil is not anywhere near warm enough. Besides the Park District will not officially let us in before April 1, so I have another day before I can legally get in, but truthfully I will be surprised if we can get in before Easter (April 20, 2014).  There have just not been enough warm sunny days followed by warm nights to break up the ice in the soil so it can be prepared and staked and marked.  At least the snow is off the ground now!

So for now I content myself with planning.  However, having a good plan and way to record your information is vital to overall success in any garden space, but especially a small space like this one.  For that reason I recommend drawing out a plan and keeping records in a journal.

Draw a Plan
Now I don’t want to choose the plants just yet, but it is always a good idea to draw a plan of your garden even if only to get a feel for how it will look and force you to think about placement and plants needs and spacing.

At this point I do not need a fancy diagram, just a general outline of the space and how I want it look.  I can work and rework placement of tomatoes, sage, basil, etc. with this diagram and a couple of books that tell me plant specifics.  Then I can rework the design if I mistakenly planted the taller Lovage in front of the low growing thyme.


The books I suggest are as follows:  For herbs I generally use Rodale’s Encyclopedia of Herbs edited by Claire Kowalchik and William Hylton (Rodale Press: Emmaus, PA, 1987) and Park’s Success with Herbs by Gertrude Foster and Rosemary Louden (Geo. W. Park Seed Co: Greenwood South Carolina, 1980.) 


For  vegetables, I checked out my local library and found two great resources.  The Beginners Guide to Growing Heirloom Vegetables by Marie Iannotti (Timber Press: Portland, OR, 2011) and Seed Starter by Maureen Heffernan (Macmillan Publishing: New York, NY, 1997.) 

Keep a Garden Journal

Keep a journal of your activities in the garden. Record a list of the varieties of vegetables grown. Record seeding and planting dates, insect and disease problems, weather and harvest dates and yields. This information will be valuable as you plan future gardens. 

 I have kept journals for my herb garden for years, noting the plants, the yield and the diseases, if any, my plants experienced.  For this garden I decided to use both a journal and a file box.  For those who want to craft a journal, I found this great template that you can download and print.  It even has instructions for how many copies of each page you should make. 

For the file box I wanted a card for each plant or seed that I am planting.  The seed packet or plant information will be stapled to the back and the details of growth I will write on front.  I can then carry the box to the Patch with me and write as I work. I will keep pencils and blank cards in the plastic file box and carry it along with my tools at the garden when I work.