Showing posts with label tomato cages. Show all posts

Thursday, June 4, 2015

Planting Tomatoes and Peppers

We used the same method for planting both the tomatoes and peppers. We did not grow the plants from seed, rather we bought seedlings at a plant sale at the beginning of May.  As someone who lives in an apartment I do not start plants from seed indoors.

The Technique

The best way to plant vegetables is first to lay them out with the proper spacing.  Tomatoes need between 18 ans 24 inches of space.  Peppers need only 18 to 20 inches of space around the plants.


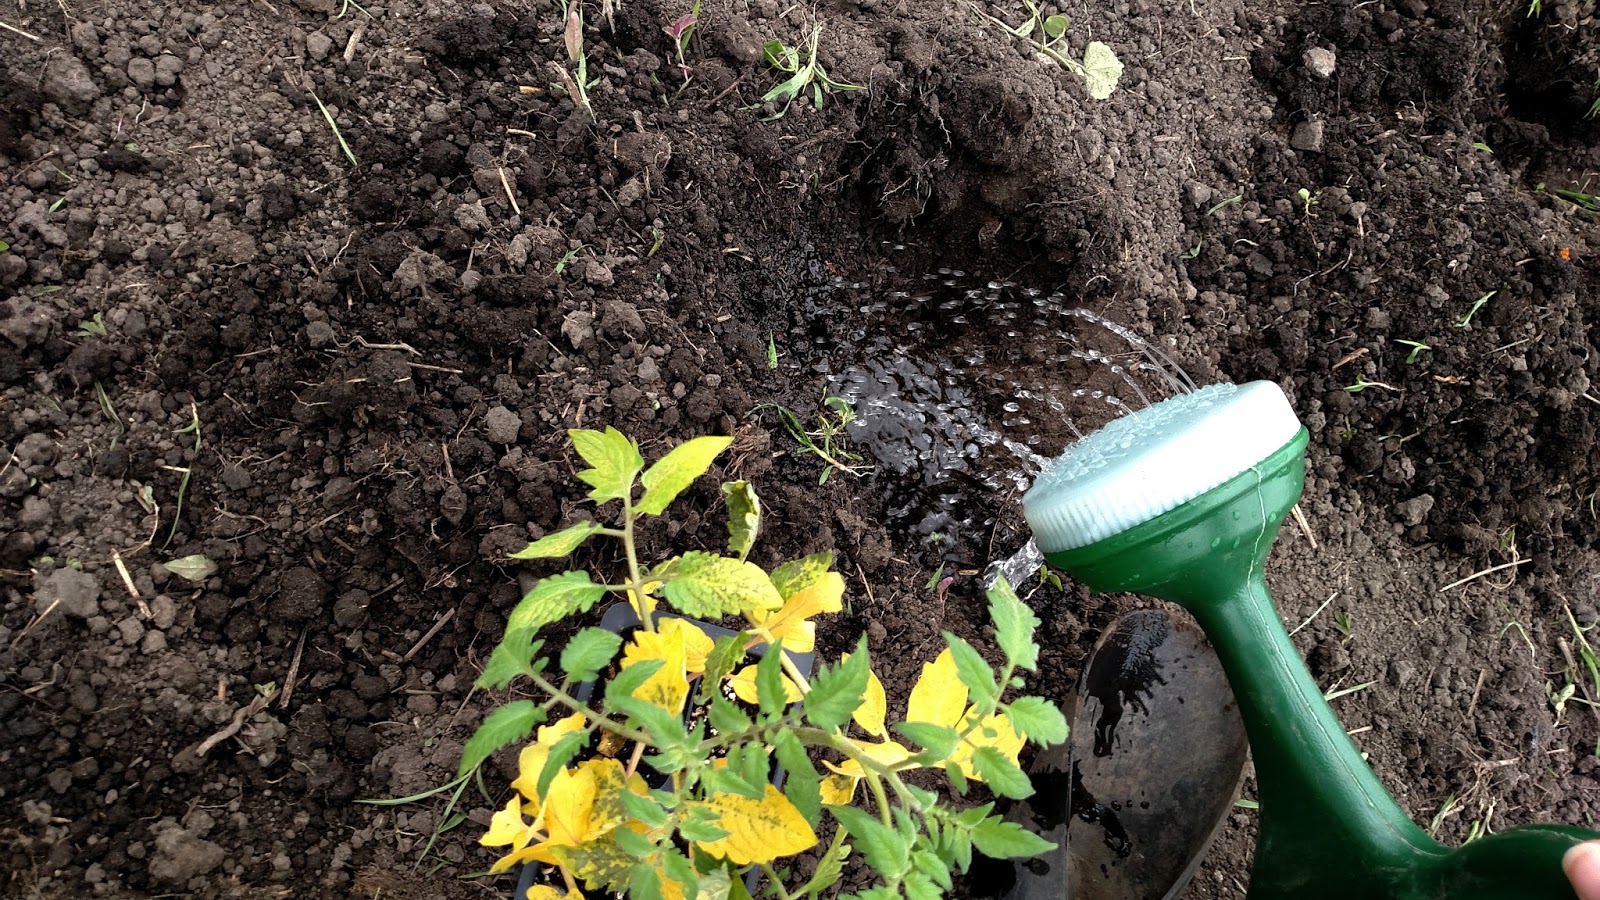
A hole is dug twice as large and twice as deep as the root ball of the plant.  I fill the hole with water and allow it to percolate into the soil, This tells me if the soil drains well and also wets the soil so that the root is not dried out when buried.


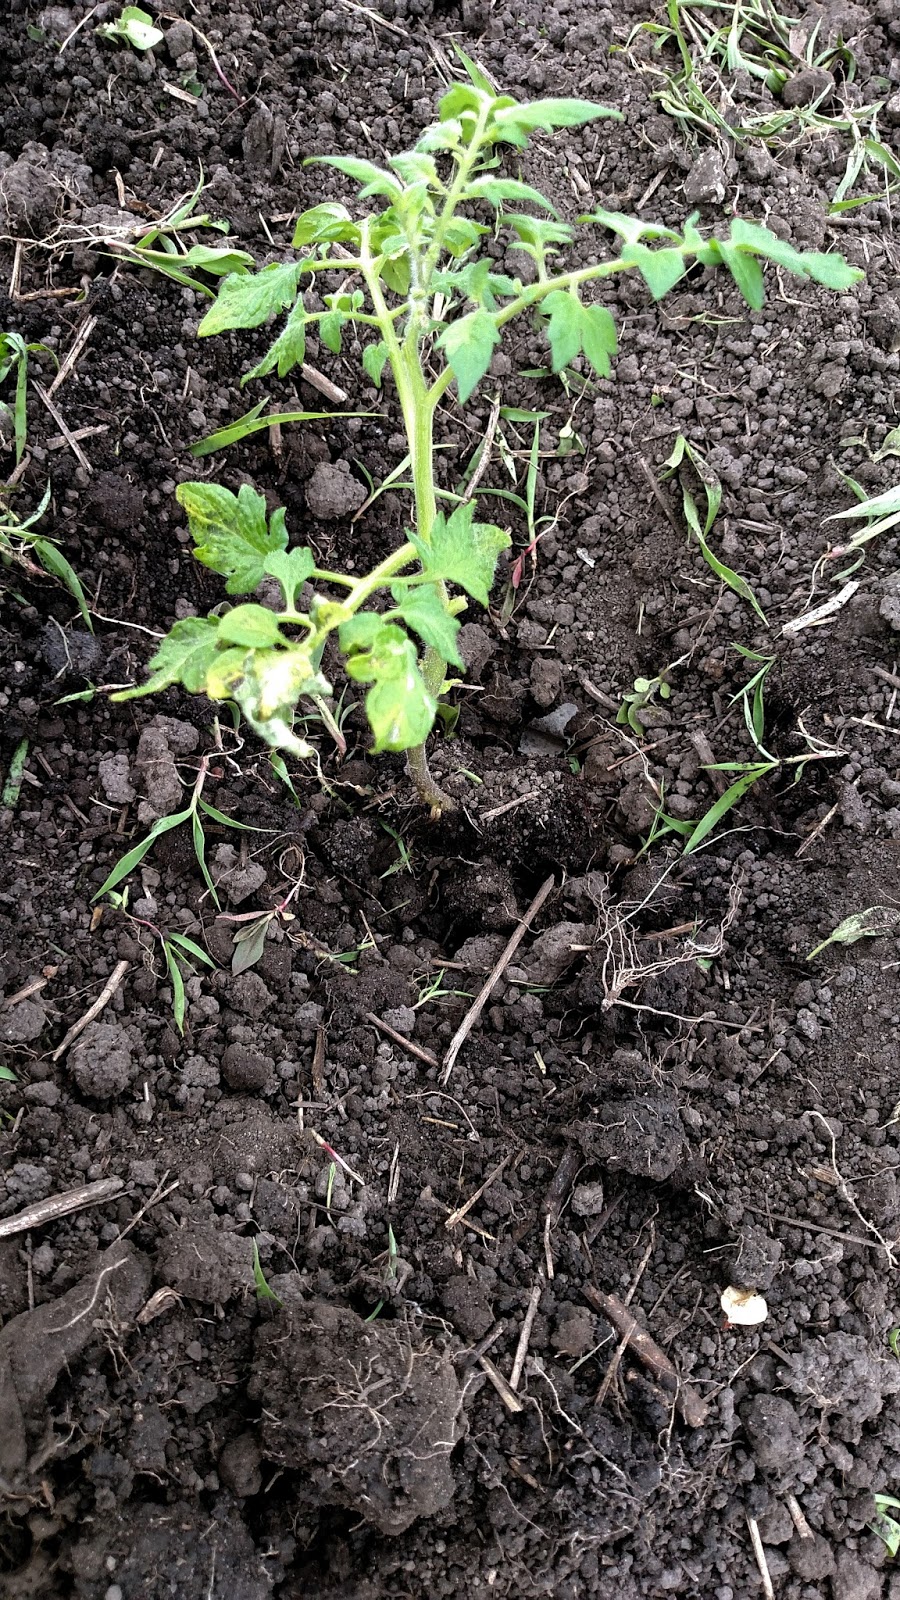
Before placing the plant in the hole I toss in a handful of compost to give the plant a bit of a boost to off set the shock of being planted.  The finally the plant is placed in the hole and the soil firmed around the plant.  It is then water thoroughly.


Once all the plants were planted I gave them a top dressing of more compost.


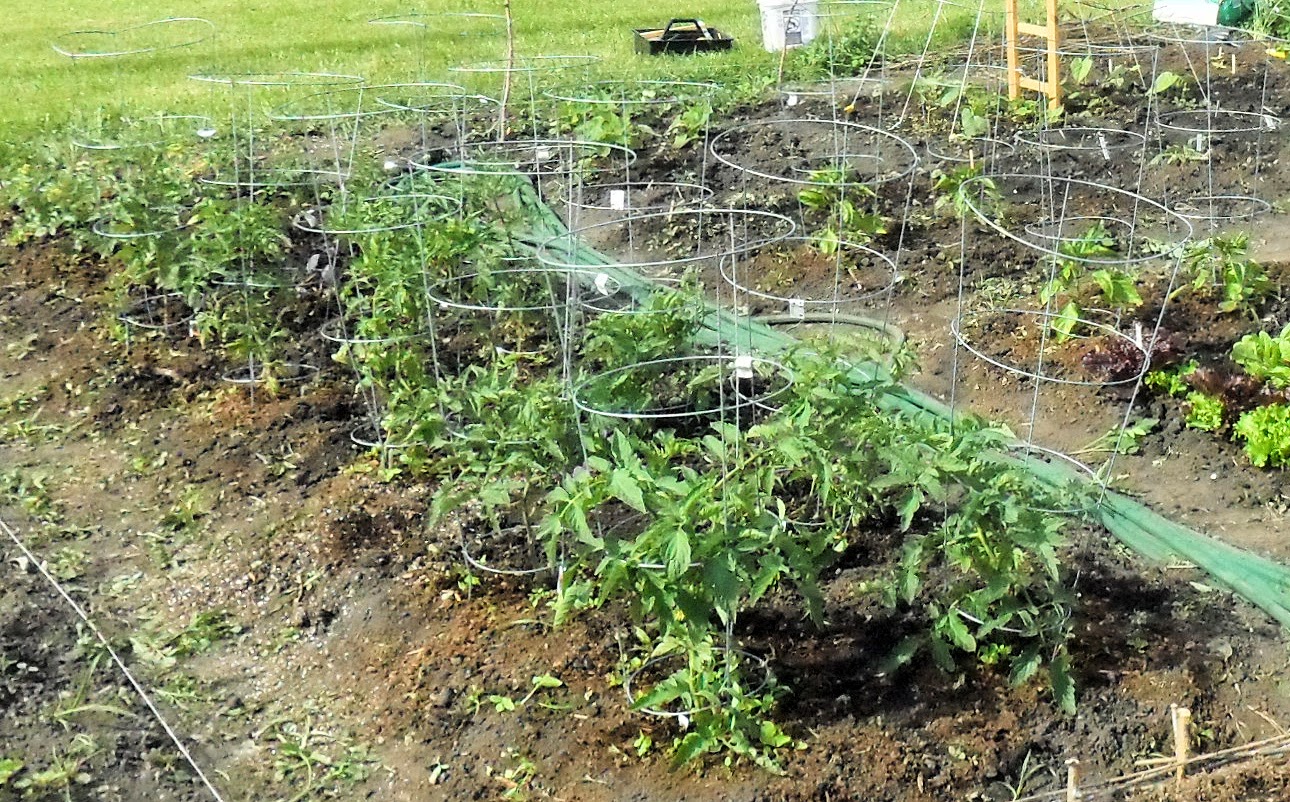
We could have waited a couple of weeks to put up the cages, as the plants hardly need them now, but we decided to just stake and cage them now in case we had warm nights that would cause rapid growth.


We would have watered them one more time before leaving the garden, but rain was predicted that night so we did not.  Good thing, as it rained for several hours that night.

Tuesday, June 2, 2015

The Planted Community Garden - Sunday May 24, 2015

This year we suffered from over-purchase syndrome.  That affliction where you buy more plants than will fit in your space.  That linked with the fact the plot at the end is actually smaller than it is supposed to be, something I had not planned for, made our original plan will not work out quite right.


Here is the plot, a bit weedy due to the fact we did not come out until May 24, due to the days of rain. We first removed the grass and used the hand tiller to break up the soil and remove the large weeds from the garden edge.


You can see the hand tiller to the left in this picture.  It is a pole with three curved claws at the bottom.  You place it in the ground and twist and it brings out weeds and breaks up soil.  You can see the original plan I posted back on May. I put in the paths and measured off the garden and that was when I discovered the the plan was not going to work.


We were not able to put in three long beds and two short, instead we got two long beds on the sides and three short beds down the middle  We planted tomatoes in one long bed as planned but it was shorter than it should have been so all the plants did not fit and we had to put the plants a bit closer together.

We purchased too many peppers and planted them into two beds leaving us with only one small bed for everything else and one long bed for the herbs.  I think I am going to have to sacrifice at least part of the herb bed for more vegetables, as the kohlrabi, broccoli, beans and squash cannot possibly fit in the last bed.  We lost the time for growing lettuce because of the heavy rains in May so we will try that experiment later in the season.


I will be growing some of the herbs in containers and will be planting onions and shallots in between the peppers. I will need to wait until the first week of June as it rained for five days straight starting with the evening of the day we planted these plants.  That rain and the effect of cold weather on the plants will be covered next week.

Wednesday, June 11, 2014

Garden Architecture - making trellis for vegetables

Making growing spaces for your plants not only helps them produce more, it is also aesthetically pleasing and gives the garden texture and a focal point.  Now I did not design my Community Patch to be a show place.  I am more interested in production, but that does not mean I cannot appreciate that the eye is now drawn to the center of my garden where the tall pole bean pyramid has been located.


Here are some details of the architecture we have now installed in out Community Patch.  We made everything "disposable."  We have to remove everything from the garden at the end of the season, so there is no need to make anything too special.


Raised Bed


For all the details of the raised bed, check out the detailed blog posts I did.  One here on the Community Patch and the other detailing some of the thyme plants on my herbal blog.


Trellis

There are several methods of creating trellis architecture in the garden.  Some are very formal, others not so much.  We have used several different methods.

Cages

We used simple wire cages, which we purchased at the hardware store, to enclose the tomatoes and peppers and give the support when the fruit will later cause the to topple.

Formed wood Trellis


This is a sturdy form entirely of pine that I nailed together to create a diagonal walk up for the cucumber climbers.  We have two cucumbers so I placed the trellis in between each plant has its own side to climb.

String Frame
peas before the frame
Sometimes all a plant needs it s a place to grow upward.  Peas love a bit of string, so i placed two natural wood sticks int eh ground and strung them back and forth with cotton string.  I will add more rows of string as the plants get longer.

 I did not want to string the entire frame up front because sun will degrade the string over time, so adding new for the top branches every week or so will give better support and longer life to the frame.


Pyramid Trellis


This trellis is for the pole beans.  They need rigid support and something tall to grow on.  They are also planted next to the bush beans so we are going to let them grow above the bush beans planted just the right and left of the center support.

We again used cotton string, this time a twisted triple or quadruple length of string which we held tight to the ground with plastic tent stakes.  In the center is the same style pine frame work we used to make the cucumber trellis.

The pine will weather to gray over the summer, which will be a nice touch!

The final look has three strings on each side for the three dominant pole beans that have sprouted from the seed we planted.